

Get in the spirit of the season with these quick, easy, cheap and ethical holiday craft tutorials.
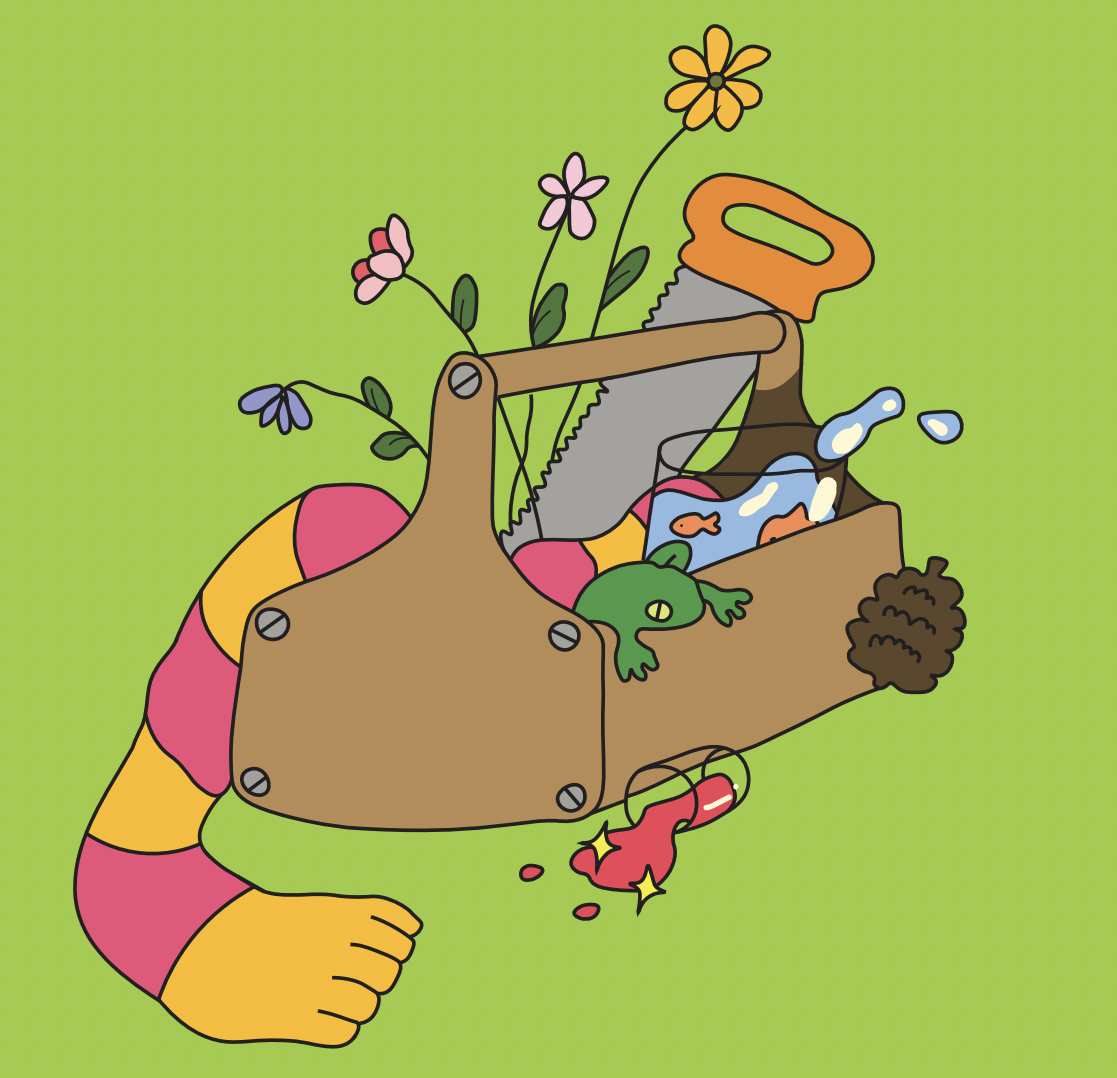
Reindeer pinecone: Do you have absolutely no friends whatsoever? Use this tutorial to make yourself a festive companion for these lonely winter nights.
- Head on outside and pick up the first pinecone you see. Don’t bother washing it.
- Grab four pipe cleaners, a hot glue gun, a red pom pom, some colorful construction paper and as many googly eyes as you deem appropriate.
- Fire up that hot glue gun and give your little pinecone some legs with those pipe cleaners. If you can’t get your new reindeer friend to stand up properly on his flimsy pipe cleaner legs, just leave him on his side for now.
- Whip out your hot glue gun again and stick some googly eyes on your reindeer’s body. It doesn’t matter where, just as long as they’re properly glued on.
- As if your reindeer wasn’t weird enough already, it’s time to glue that red pom pom right smack dab in the middle of his face as a nose. It’s sure going to be hard for your reindeer to make any friends with that goofy nose of his. They’ll laugh and call him names, and they probably won’t let him play any of their reindeer games.
- Now that you’re nearly done creating your little freak of nature, it’s time to give him an outfit. We want him to be decent, after all. Go ahead and use the colored construction paper to make your reindeer a full wardrobe, and don’t forget to make some shoes for his wobbly little pipe cleaner legs to stand in. Before you finish, make sure you cut holes in your reindeer’s clothes for his various eyes to see out of.
Comically large snow globe: Do you like snow globes? So much that regular snow globes just aren’t cutting it for you? Well, boy, have we got the thing for you.
- Start by deciding just how humongous you really want this snow globe to be. If you’re looking to start small, a fish bowl will do, but if you’re in more of a “go big or go home” kind of mood, go ahead and use a yoga ball.
- Next, you’ll want to make sure you have some water, grated parmesan cheese and some glitter.
- Use a hose to fill your globe with water, then dump the grated parmesan cheese in there for the snow, and add the glitter for pizazz.
- Your snow globe is nearly finished. But you’re still missing something: occupants. If you’re using a fish bowl, you can fill your globe with sea monkeys. If you went with the yoga ball, you can probably fit some bigger critters, like a goldfish, salmon or frogs in there.
- Voila! Your snow globe is finished. Now, whenever you’re feeling bored, you can furiously shake your snow globe and watch as the glitter and snow dance around. Don’t worry about whatever poor creature you’ve trapped in your globe. There should be enough cheese in there to last them a while.
Festive dog treats: Are you one of those weirdos who like to bake homemade treats for your dog? Get a life. But before you do that, try out this festive dog treat tutorial to get your pooch in a holly-jolly mood.
- Start by preheating the oven to the highest setting so the treats bake as fast as possible.
- Next, break out some flour, sugar, baking soda, spam, eggs, baking chocolate, red and green frosting and tinsel (for garnish). Can dogs eat all of this? Beats us.
- Chuck all the ingredients into a bowl and start mixing them together as aggressively as possible. The baking chocolate will be solid, so try to melt it with the warmth of your hands.
- Scoop the dough out onto a baking sheet in fistfuls, then coat each glob of dough with frosting. Don’t bother greasing the sheet; you can just pry the treats off with a spatula later.
- Lick the bowl. The best part of baking is sampling the goods, so go ahead and treat yourself with a few licks of what’s left of your delicious mixture in the bowl. It’s completely safe as long as you pick out all the tinsel.
- Throw the baking sheet into the oven with as much force as possible and slam the door shut like your life depends on it.
- No need to set a timer. You’ll know when your treats are done baking as soon as you hear the fire alarm.
- Once your goodies are done baking, take them on out of the oven and serve them to your dog piping hot. I’m sure they’ll love it.
Disclaimer: Don’t try this at home. These crafts range from irresponsible to just plain evil and aren’t safe whatsoever. Don’t attempt to replicate them…unless you have good health insurance.